

Here you find yourself, eager to dive into a dish that dances with flavor and crunch—dilly beans. Imagine crisp green beans, tart and zesty, soaking up the tang of vinegar and the warmth of garlic. The moment you pop one in your mouth, the crunch is accompanied by a riot of taste that makes your taste buds stand up and cheer. Whether as a snack or a side, these little green gems will have you reaching for more.
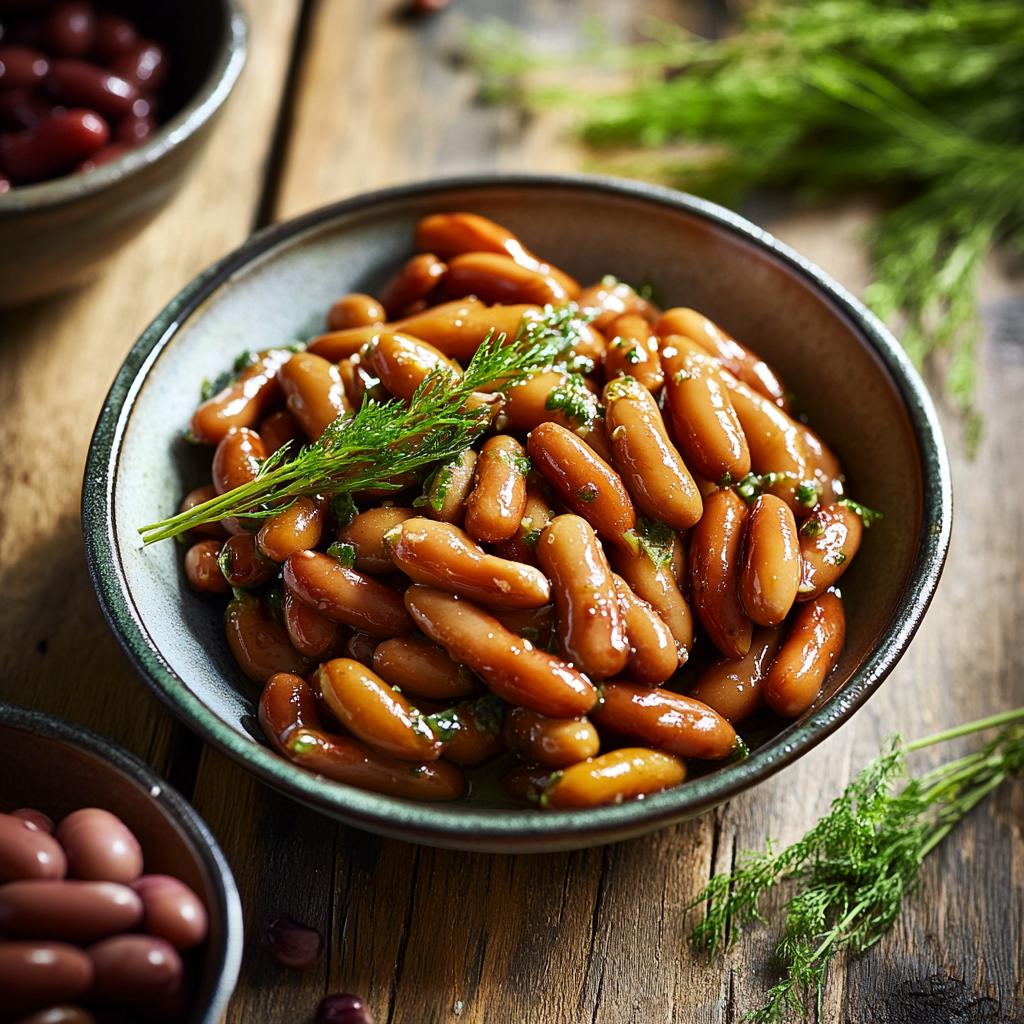
Now picture this: it’s a sunny afternoon at a family picnic, laughter fills the air, and someone passes around a jar of dilly beans. The first bite brings back memories of Grandma’s kitchen, where time stood still, and every jar was filled with love. Making dilly beans isn’t just about preserving vegetables; it’s about preserving moments that make life flavorful.
Why You'll Love This Recipe
- The ease of preparation means you can whip these up quickly without breaking a sweat
- Bursting with flavor, they provide a delightful crunch that makes them irresistible
- Their vibrant color adds visual appeal to any table setting
- Perfect as snacks or sides—these beans are versatile enough for any occasion
I remember my aunt’s face lighting up when she tasted my first batch—her joyful surprise made all the chopping worth it.

Essential Ingredients
Here’s what you’ll need to make this delicious dish:
-
Fresh Green Beans: Look for firm, bright green beans without blemishes; they should snap easily when bent.
-
Garlic Cloves: Fresh garlic gives the best flavor; use larger cloves for a stronger kick.
-
White Vinegar: Choose distilled white vinegar for its clean taste that compliments other flavors beautifully.
-
Sugar: A touch of sugar balances out the acidity of vinegar; adjust according to your taste preference.
-
Dill Seeds: These tiny seeds pack a big punch with their distinct flavor—don’t skimp on them!
-
Water: Use filtered water for brining; it ensures your dilly beans stay crisp and clear in flavor.
-
Salt: Pickling salt works best due to its purity; avoid iodized salt which can cloud your brine.
The full ingredients list, including measurements, is provided in the recipe card directly below.
Let’s Make it together
Prepare for some fun as we turn those fresh green beans into dilly beans that will tantalize your taste buds!
Prep Your Beans: Start by washing 1 pound of fresh green beans under cool running water. Trim both ends off to keep them neat and tidy.
Make the Brine: In a medium saucepan, combine 1 cup of white vinegar, 1 cup of water, and ¼ cup of sugar. Heat over medium until the sugar dissolves completely—this should take about 3-4 minutes.
Add Flavorings: Stir in 2 teaspoons of dill seeds and 4 peeled garlic cloves into the brine mixture while it simmers. Let everything bubble together for another minute until aromatic.
Packing Jars: Pack the trimmed green beans tightly into sterilized jars, standing them upright for an appealing presentation. Pour the hot brine over them until fully submerged.
Cooling Down Time: Allow jars to cool on the counter for about an hour before sealing with lids. This cooling process helps create that magical vacuum seal!
Refrigerate and Enjoy!: Place sealed jars in the refrigerator for at least 48 hours before diving in—this allows flavors to meld together perfectly! Enjoy your dilly beans as crunchy snacks or zesty side dishes!
Dilly beans are not just another recipe; they’re an experience wrapped in nostalgia with every bite! So grab those ingredients and let’s create something delicious together!
You Must Know
- Dilly beans are not just a side dish; they’re a crunchy, tangy delight that brings life to any meal
- Their zesty flavor profile can elevate sandwiches or serve as a munchable snack
- Plus, these beans are incredibly easy to make and store!
Perfecting the Cooking Process
Start by blanching the green beans for about three minutes to maintain their crunchiness, then plunge them into ice water. While they cool, prepare your brine. This method ensures your dilly beans will be vibrant and crisp.
Add Your Touch
Feel free to swap garlic with onion for a milder taste or toss in some red pepper flakes for an extra kick. Adding dill seeds or mustard seeds can also give your dilly beans unique flavors tailored just for you.
Storing & Reheating
Store your dilly beans in jars in the fridge for up to two months. They’re best enjoyed cold straight from the jar, but you can also add them to salads or sandwiches for a pop of flavor.
Chef's Helpful Tips
- To ensure your dilly beans are flavorful, let them marinate for at least 24 hours before tasting
- Use fresh herbs for maximum flavor and adjust spices according to your heat preference
- Clean jars thoroughly to avoid spoilage—your health deserves it!
There was that one summer when I made dilly beans for a picnic. Everyone raved about them, and I felt like a culinary rock star! It was such a joy seeing friends devour something I whipped up so easily.
FAQ
What are dilly beans?
Dilly beans are pickled green beans flavored with garlic and dill, perfect for snacking.
How long do dilly beans last?
When stored properly in the fridge, they last up to two months.
Can I use other vegetables?
Absolutely! Carrots and cucumbers make great alternatives for pickling alongside green beans.
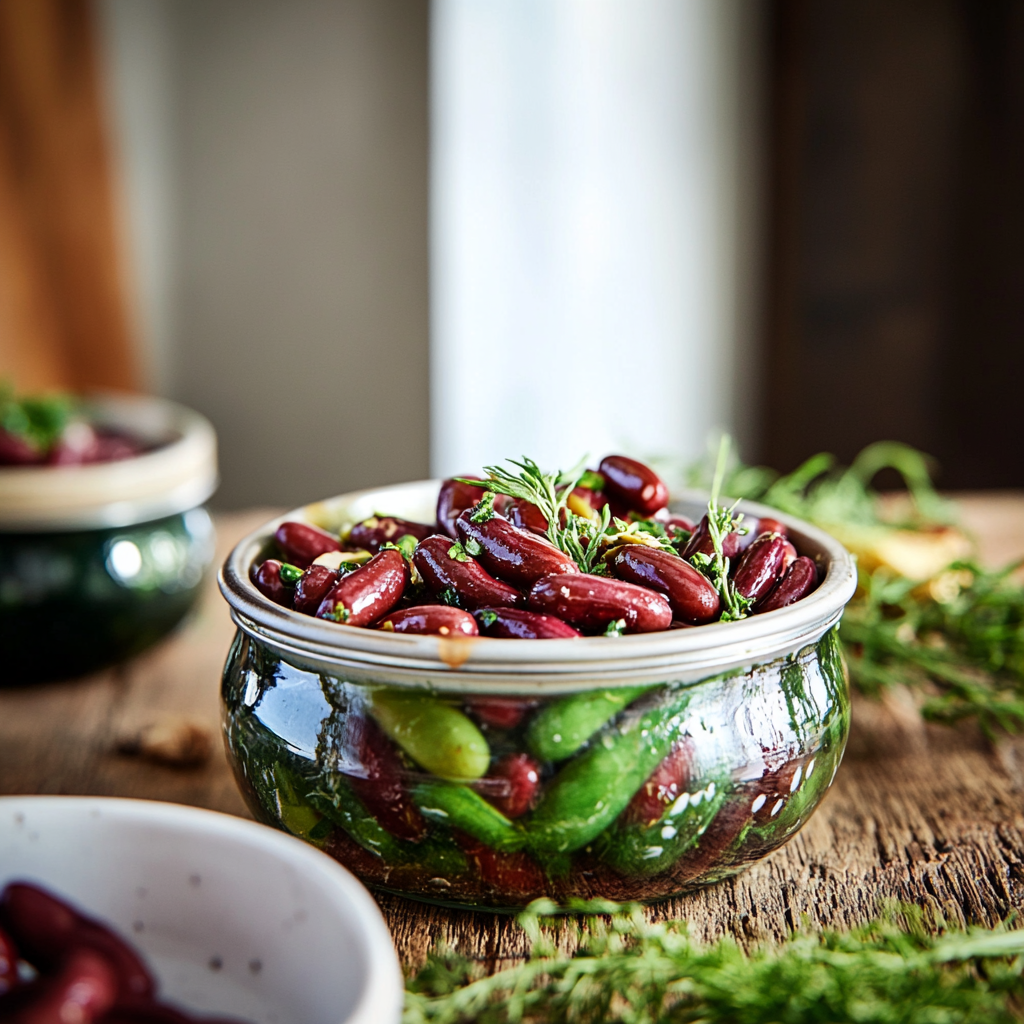
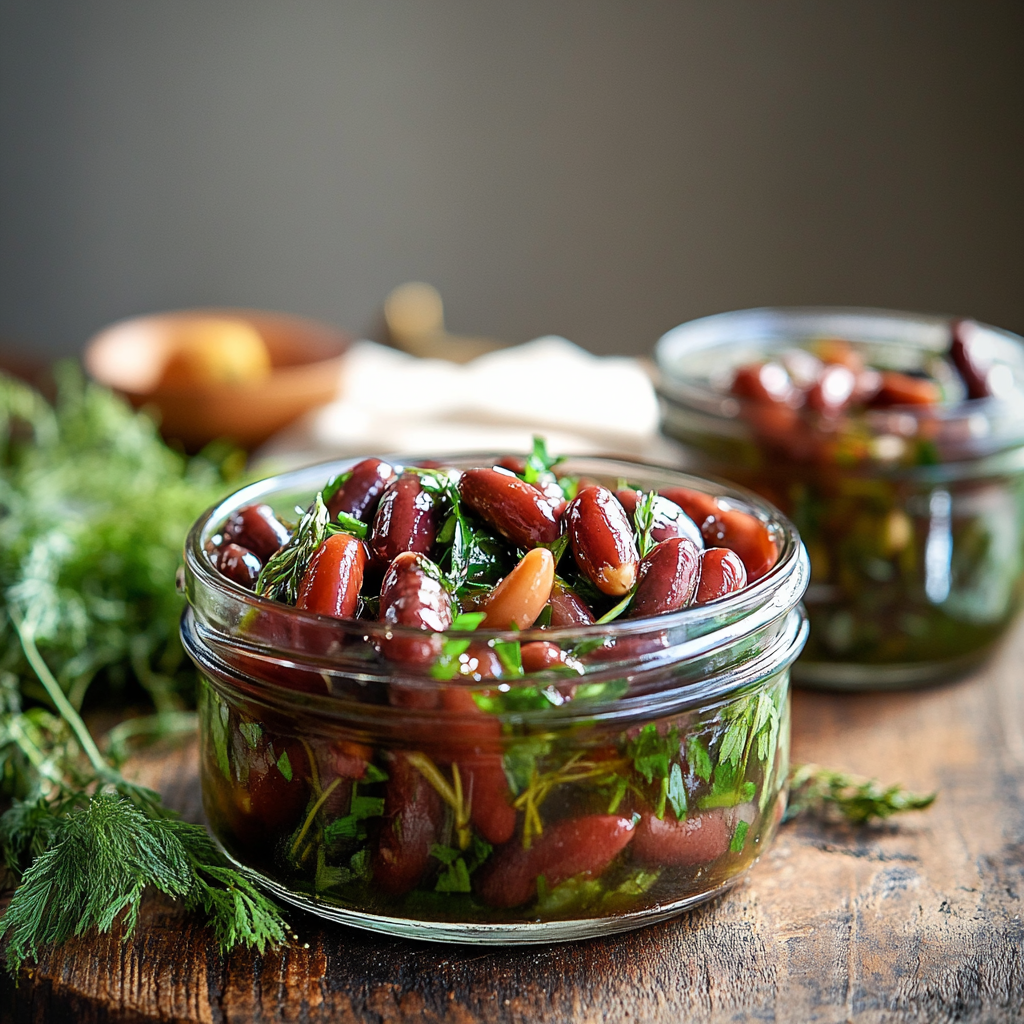
Dilly Beans
Dilly beans are a crunchy, tangy delight that brings zest to any meal. This quick and easy recipe transforms fresh green beans into flavorful pickles infused with garlic and dill. Perfect as a snack or side dish, dilly beans capture the essence of summer picnics and family gatherings in every bite. Enjoy their vibrant taste and satisfying crunch!
- Prep Time: 15 minutes
- Cook Time: 10 minutes
- Total Time: 25 minutes
- Yield: Approximately 4 servings 1x
- Category: Side Dish
- Method: Pickling
- Cuisine: American
Ingredients
- 1 lb fresh green beans
- 1 cup white vinegar
- 1 cup water
- ¼ cup sugar
- 2 tsp dill seeds
- 4 garlic cloves, peeled
- 2 tsp pickling salt
Instructions
- Wash and trim the ends of the green beans.
- In a medium saucepan, combine white vinegar, water, and sugar; heat until sugar dissolves (3-4 minutes).
- Stir in dill seeds and garlic cloves; simmer for an additional minute.
- Pack green beans tightly into sterilized jars, standing them upright.
- Pour the hot brine over the beans until fully submerged.
- Allow jars to cool for an hour before sealing lids.
- Refrigerate for at least 48 hours before serving.
Nutrition
- Serving Size: 1 jar (113g)
- Calories: 50
- Sugar: 6g
- Sodium: 320mg
- Fat: 0g
- Saturated Fat: 0g
- Unsaturated Fat: 0g
- Trans Fat: 0g
- Carbohydrates: 12g
- Fiber: 4g
- Protein: 2g
- Cholesterol: 0mg


Leave a Comment