

There’s a certain magic in the air when you crack open a box of Rice Krispies. The moment those tiny, crispy rice grains tumble into a bowl, they whisper sweet nothings of nostalgia, promising delightful crunches and gooey marshmallow goodness. Picture this: you’re standing in your kitchen, and the aroma of melted butter and marshmallows wafts through the air, pulling you back to carefree childhood days filled with laughter and sticky fingers.

Now, as you embark on this sweet adventure to create Rice Krispie treats, let me share a little secret. These treats are perfect for everything from birthday parties to cozy movie nights. I remember making them for my best friend’s surprise party; everyone was literally fighting over the last piece! So buckle up for a fun ride as we create this classic treat that’s equal parts easy and delicious.
Why You'll Love This Recipe
- Rice Krispie treats are incredibly easy to prepare, making them perfect for any baking novice
- Their perfect balance of sweetness and crunch will leave everyone asking for seconds
- The visual appeal of these golden treats makes them a showstopper at any gathering
- Plus, they are versatile enough to be customized with various mix-ins like chocolate chips or sprinkles
I can still hear my niece squealing with delight as she took her first bite of these treats at our family picnic last summer—her eyes lit up brighter than the sun!
Essential Ingredients
Here’s what you’ll need to make this delicious dish:
-
Rice Krispies Cereal: Use fresh Rice Krispies for maximum crunch; avoid stale boxes lurking in your pantry.
-
Marshmallows: Mini marshmallows melt faster and evenly; ensure you have enough to create that gooey goodness.
-
Butter: Unsalted butter is preferred to control the saltiness; it adds richness without overpowering flavors.
-
Vanilla Extract: A splash enhances flavor; always opt for pure vanilla extract for an aromatic finish.
-
Salt: A pinch balances sweetness; don’t skip this step for that extra oomph!
The full ingredients list, including measurements, is provided in the recipe card directly below.
Let’s Make it together
Gather Your Tools: Start by assembling all your ingredients and tools—mixing bowl, spatula, saucepan, and an 8×8-inch baking pan. This helps streamline your process so nothing gets burned during the marshmallow melting phase.
Melt Butter and Marshmallows: In a large saucepan over low heat, melt butter until bubbly. Add mini marshmallows gradually while stirring constantly until they become a smooth gooey mixture that smells like heaven.
Add Rice Krispies: Remove your saucepan from heat and immediately fold in the Rice Krispies cereal gently but thoroughly until every morsel is coated in that magical marshmallow mixture.
Spread into Pan: Transfer your sticky mixture into the greased baking pan. Using a spatula or wax paper (for less stickiness), press down firmly but gently into an even layer—this is crucial for achieving that perfect treat texture.
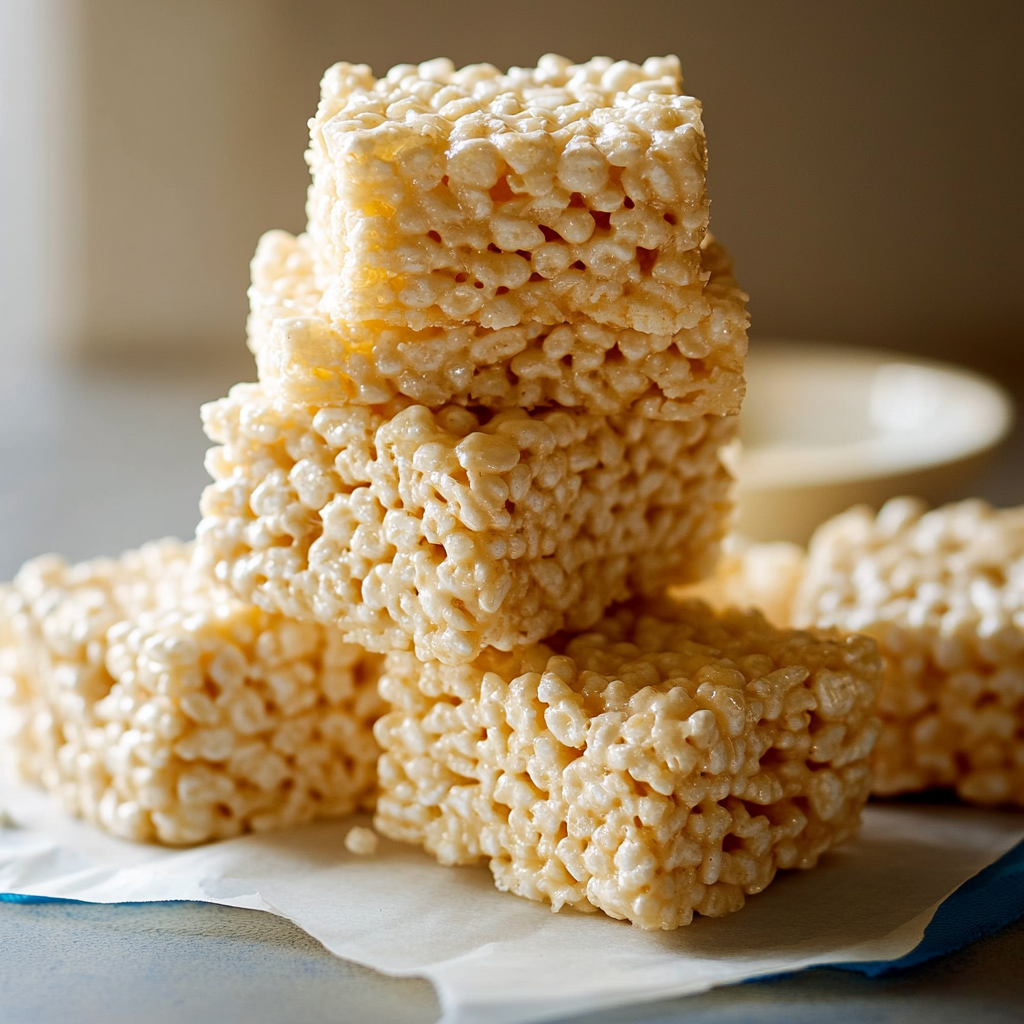
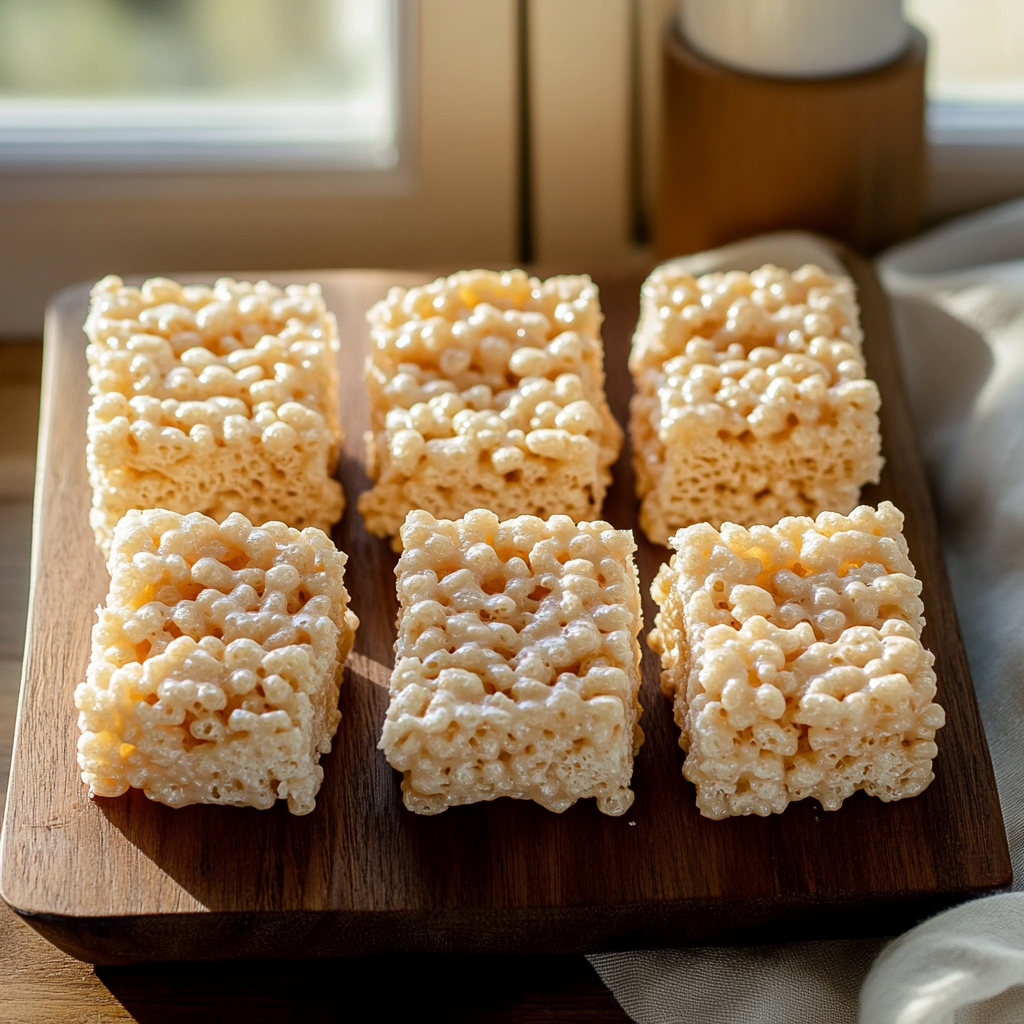
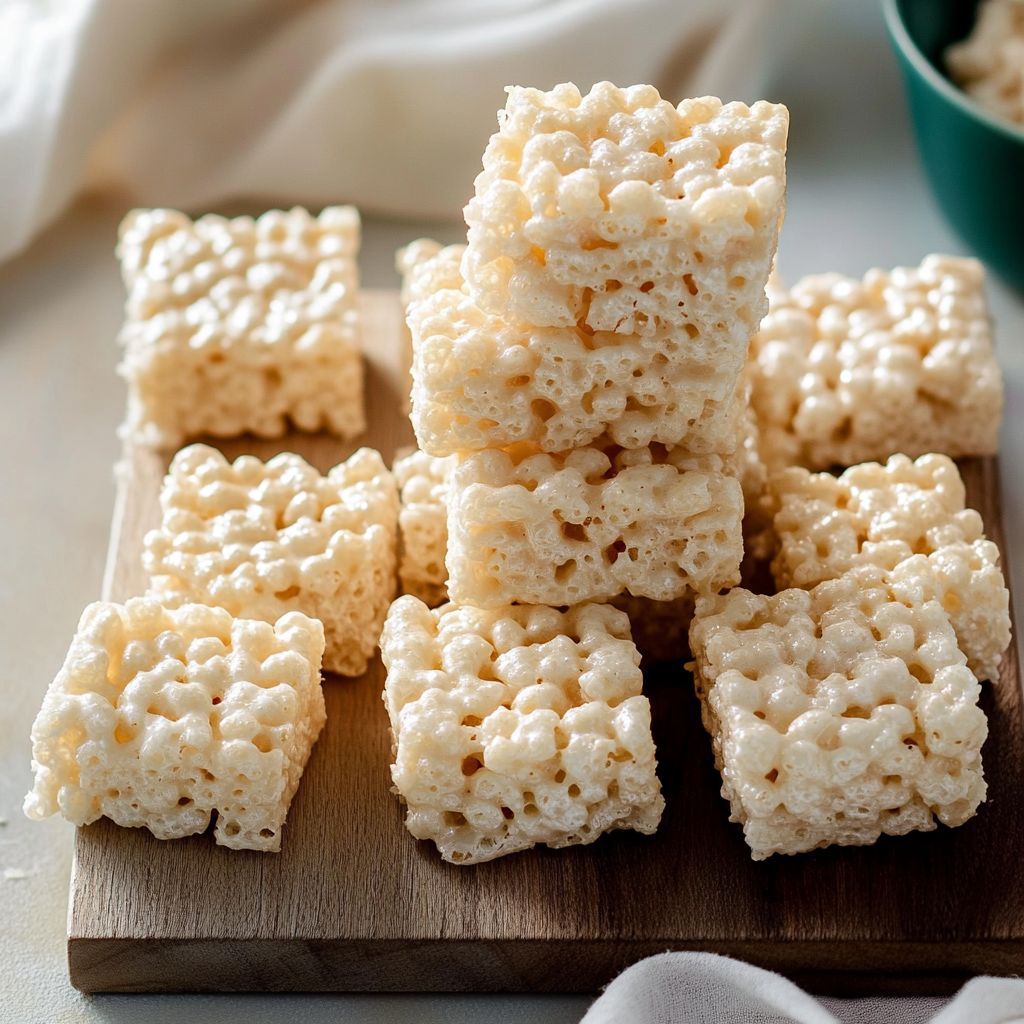
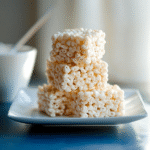
Cool and Cut: Allow your creation to cool at room temperature for about 30 minutes. Once set, use a sharp knife to cut them into squares or rectangles—you can also use cookie cutters for fun shapes!
Now you’re ready to enjoy your homemade Rice Krispie treats! Feel free to experiment with toppings or mix-ins next time around; maybe some chocolate chips or colorful sprinkles can make things even more festive!
You Must Know
- These rice krispie treats are not just a snack; they embody nostalgia and fun
- With their gooey marshmallow goodness and crispy texture, they’re perfect for any occasion, making you feel like a kid again with every bite
Perfecting the Cooking Process
To make perfect rice krispie treats, melt the butter and marshmallows together over low heat before mixing in the cereal. This ensures a smooth consistency and prevents burning.
Add Your Touch
Feel free to mix in chocolate chips, sprinkles, or even peanut butter for added flavor. These simple additions can transform your treats into an irresistible delight.
Storing & Reheating
Store your rice krispie treats in an airtight container at room temperature to keep them fresh. If they get hard, just pop them in the microwave for a few seconds to soften.
Chef's Helpful Tips
- For perfectly chewy rice krispie treats, ensure you don’t overcook the marshmallows
- Stirring gently helps maintain their fluffiness while mixing in the cereal
- Use fresh marshmallows for optimal gooeyness and consider pressing them down lightly for a firmer texture
It was my cousin’s birthday when I first made these rice krispie treats. Everyone loved them so much that we ended up having a full-on treat fight!
FAQ
How long do rice krispie treats last?
Rice krispie treats typically last about one week when stored properly.
Can I use different types of cereal?
Yes, feel free to substitute with other cereals like Cocoa Krispies or fruity options.
What can I do if my treats are too hard?
If your rice krispie treats are hard, microwave them briefly to soften and restore chewiness.
Delicious Rice Krispie Treats
Indulge in the nostalgia of homemade Rice Krispie treats! This classic recipe combines crispy rice cereal with gooey marshmallows and rich butter, creating a sweet and satisfying treat that’s perfect for any occasion. Whether you’re hosting a party or enjoying a cozy night in, these easy-to-make snacks are sure to delight both kids and adults alike. Let’s dive into this simple yet scrumptious recipe!
- Prep Time: 10 minutes
- Cook Time: 10 minutes
- Total Time: 20 minutes
- Yield: Makes approximately 16 servings 1x
- Category: Dessert
- Method: Baking
- Cuisine: American
Ingredients
- 6 cups Rice Krispies cereal
- 4 cups mini marshmallows
- 1/2 cup unsalted butter
- 1 tsp pure vanilla extract
- 1/4 tsp salt
Instructions
- Gather your tools: mixing bowl, spatula, saucepan, and an 8×8-inch baking pan.
- In a large saucepan over low heat, melt the butter until bubbly. Gradually add mini marshmallows, stirring constantly until melted and smooth.
- Remove from heat and gently fold in the Rice Krispies cereal until well coated.
- Transfer the mixture to the greased baking pan. Press down evenly with a spatula or wax paper.
- Allow to cool at room temperature for about 30 minutes before cutting into squares.
Nutrition
- Serving Size: 1 square (30g)
- Calories: 130
- Sugar: 10g
- Sodium: 60mg
- Fat: 5g
- Saturated Fat: 3g
- Unsaturated Fat: 2g
- Trans Fat: 0g
- Carbohydrates: 20g
- Fiber: 0g
- Protein: 1g
- Cholesterol: 15mg

Leave a Comment